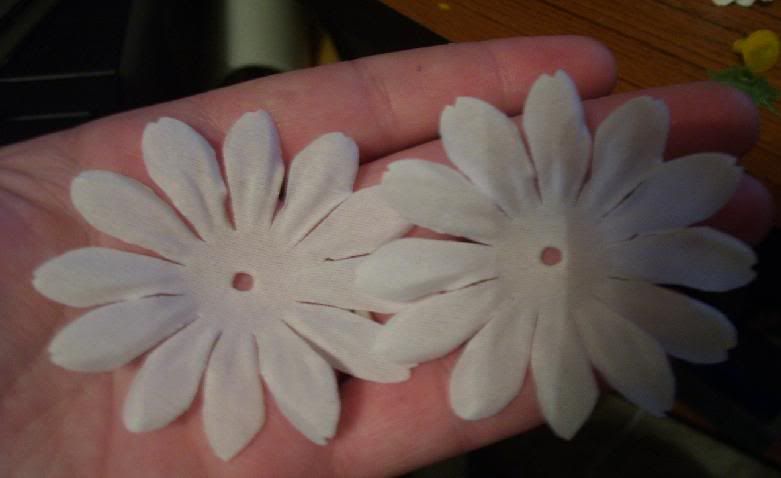
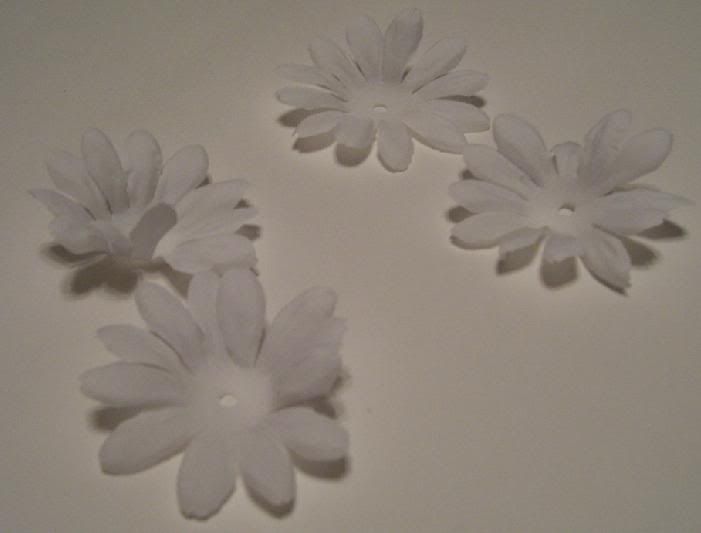
Here is what the Daisy's looked. I just picked them off the 'branch' that they came on. I purchased 7 stems, with 6 flowers on each. Each flower had 2 flowers with it. They were 99 cents each stem. Total Cost : $6.93 (before tax)

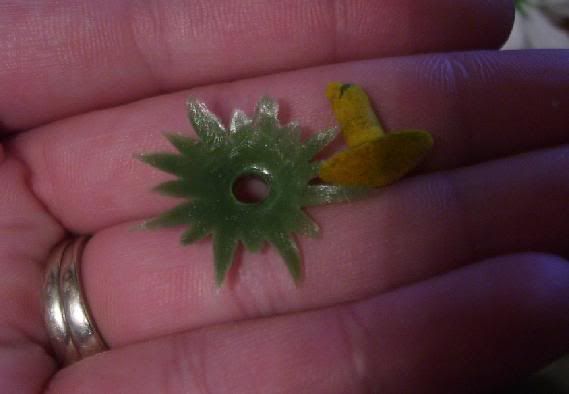
Then, I carefully removed the center from each, so that the flowers would become seperate. This will also allow me to use brads when attaching them to my project.
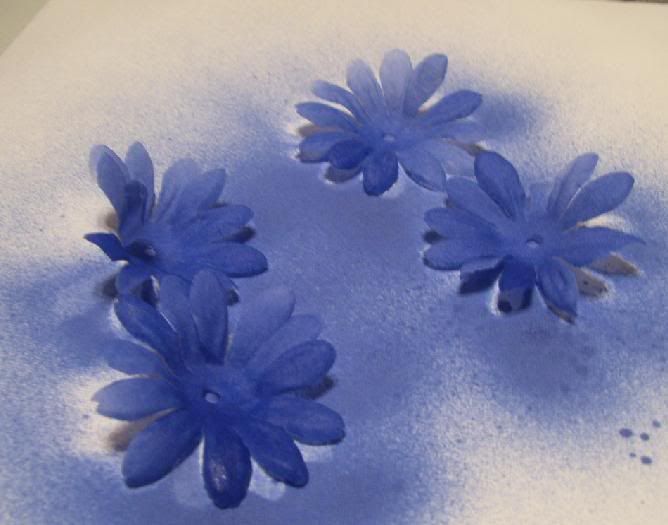
The first method I tried was using a Mist. This was purcahsed at HL for $3.59 a bottle. I got it on clearence, and it came in Green, Brown and Red also. I have used the Blueberry Shake for this tutorial.
I scattered a few flowers on to blank paper. This is just cardstock. I later found that it's best to have chipboard or scrap cardboard under it, so that it doesn't leak through on to your table.Then I just sprayed the flowers. I tried to do it as evenly as I could, but some were over sprayed. I found that the mist dries quite quickly.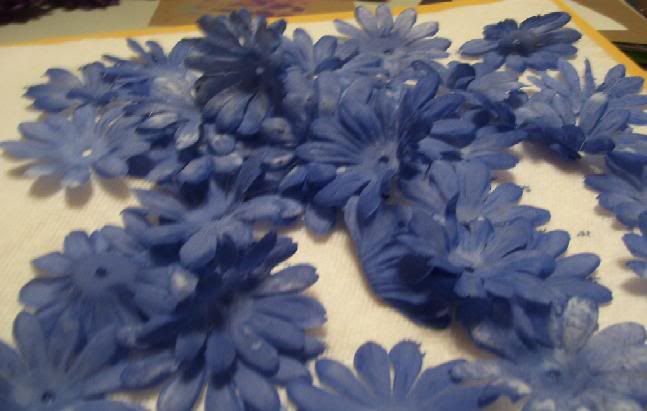
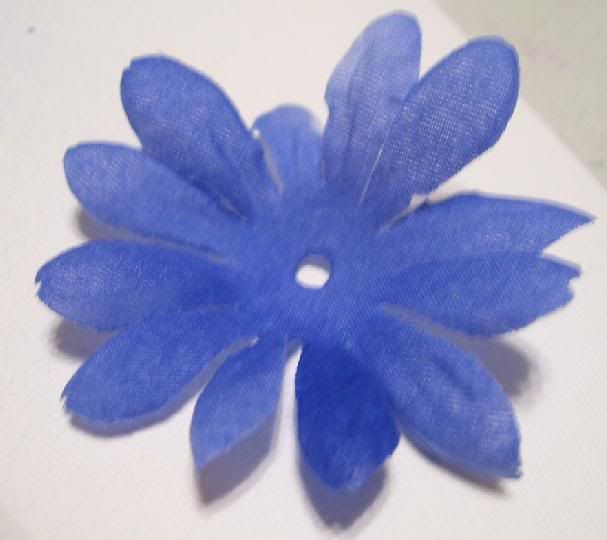
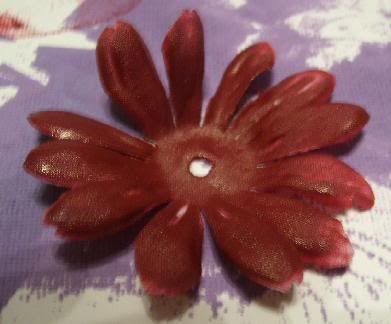
Here's a Flower, colored with Mist.
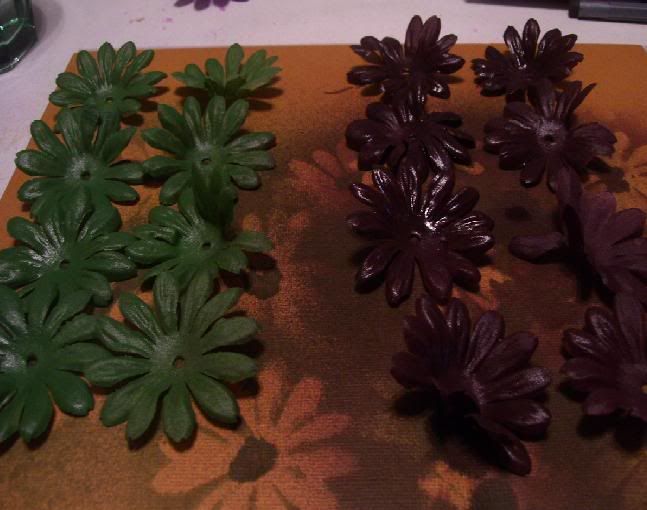
And some Green and Brown misters too
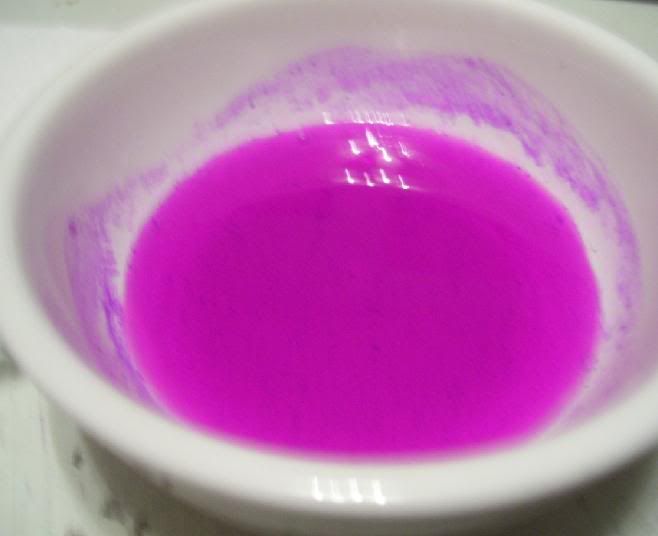
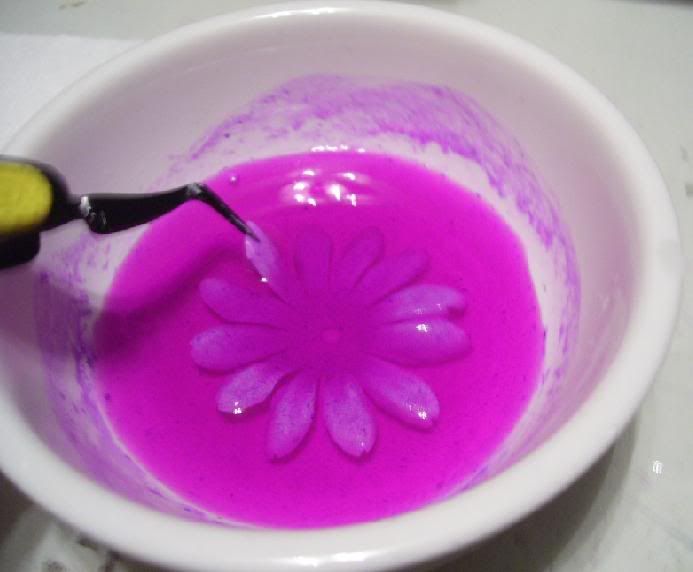
Then, I tried alcohol inks. I have been very conservitive on my inks - don't want to run out. So I tried first to mix with water. The color here is from Tim Holtz, Wild Plum. *NOTE* My bowl turned pink. I used a Mr Clean Magic Eraser to clean it up, I'm sure something else would work too, but this was in reach when I dumped out the access water.
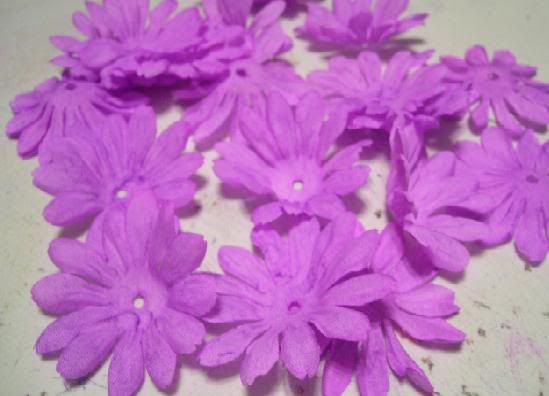
It didn't take much swirling in the water to give these flowers a nice pink shade. Unfortunetly, I was going for a more purple look. I checked though my inks, and I didn't have Eggplant which seems look more purplish.
Here's letting the flowers dry. They dried pretty quick too.
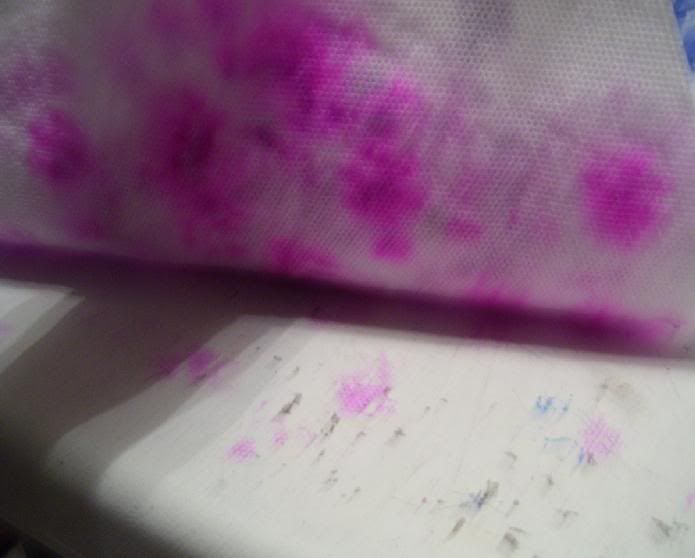
Being with water, they were more wet than the blue ones - look what it did to my table! Silly me, I should have put down some cardboard first. However Mr Clean Magic Eraser wiped the staining away.
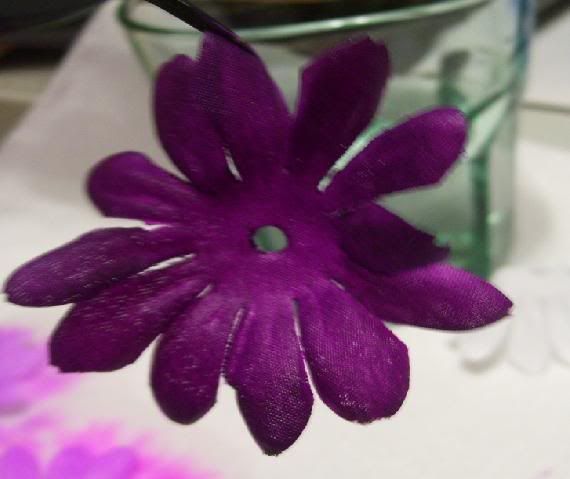
My Next try was to use the ink directly onto the flower. This came to a pretty, rich purple. Still being the supplies hoarder I am, I didn't want to go through a bottle to dye these flowers.
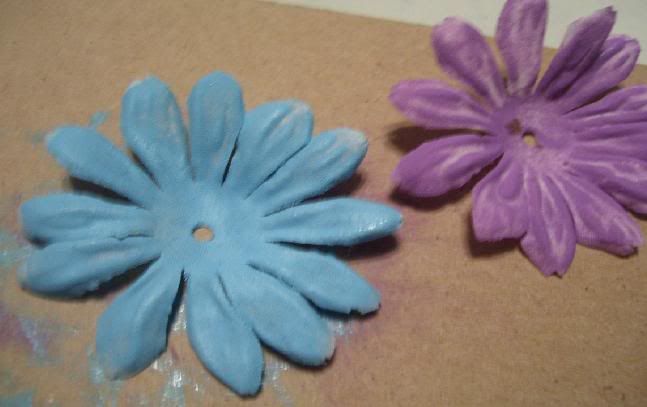
Then I tried Inks. I started with a Martha Stewart ink that I purcahsed at Walmart. Here's a purple flower, and next is a blue flower.
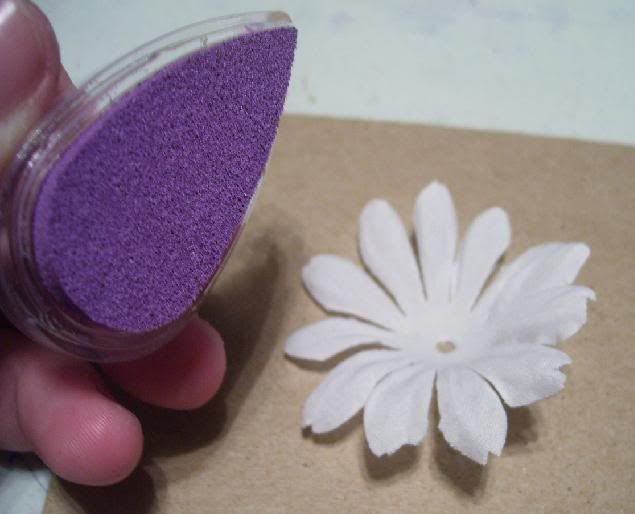
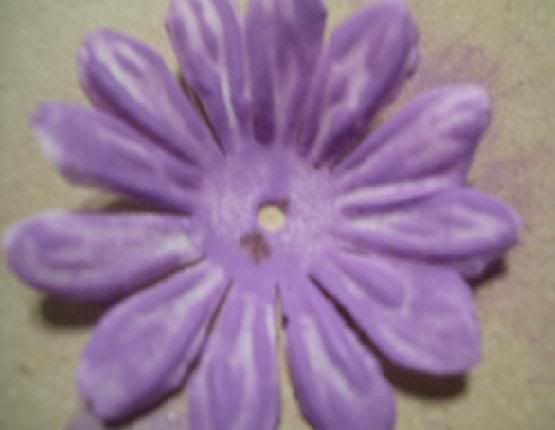
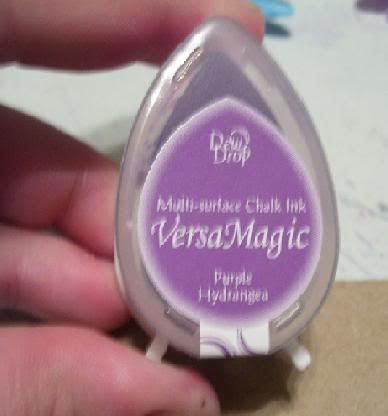
I also tried VersaMagic Dew Drops Chalk - I loved the way that these turned out.
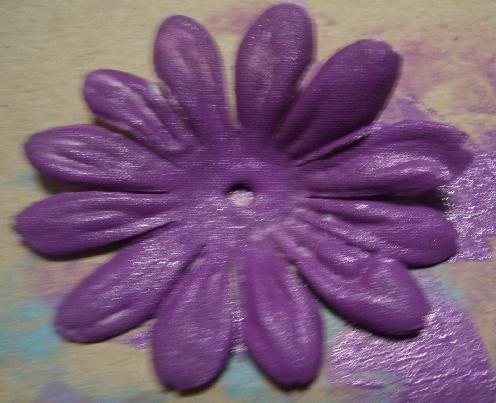
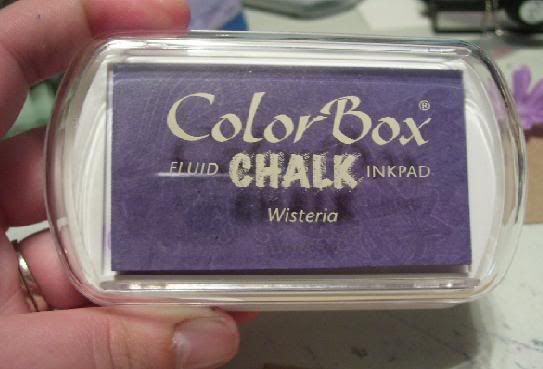
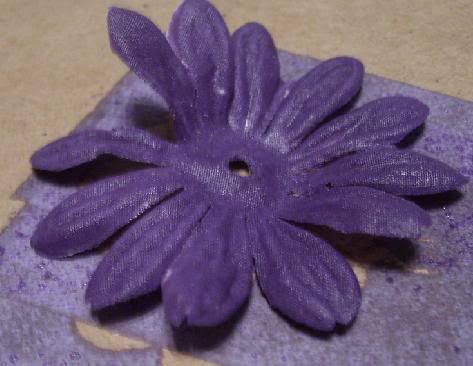
But, doing them with a small ink pad would have taken forever (or what seemed to be) so I got out my ColorBox Chalk Ink. These turned out really nice too, however being on a larger size, I felt that I was wasting my ink.
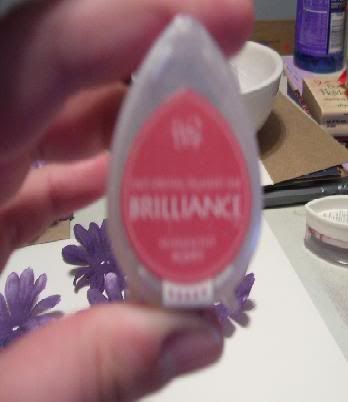
Here's a Versa Mark Brilliance . I did not like this one. These flowers have sat for about 23 hours. And this is the only one that is still WET! I moved it and got ink on my fingers.
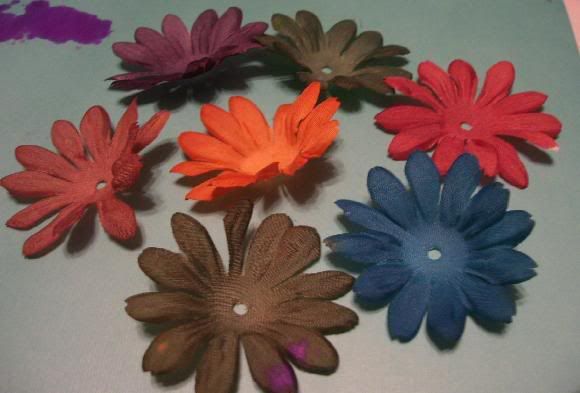
So I went back to the Alcohol inks. Here's some purples
and some more colors
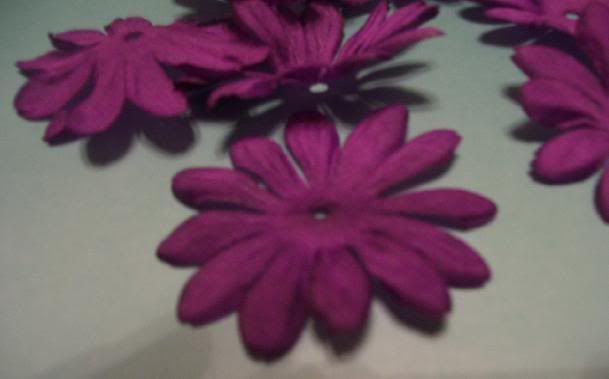
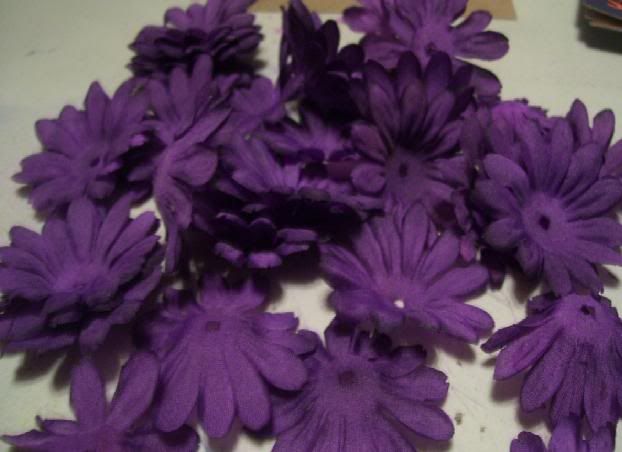
In the end, I like the look that using straight Alcohol ink gives the flowers. I did end up using my entire bottle of Wild Plum, but it was about 1/2 full when I started. Below is the Plum Flowers, dried.
In Conclusion, I feel that the inks did a much better job. I also liked the look of the misters.





40 comments:
oooh oooh, pick me! LOL :)
I love this tutorial! I've been wanting to get some alcohol inks for this very reason, but I haven't bought any yet because of the price. Now I will definately buy some!
HI! Just saw ur blog. Neat ideas for dying flowers. I've never tried alchol ink...but guess whats on my wish list! lol
I don't have an ID so reach me if u want @ osissybuttons08@aol.com
Thanks for the great tutorial!
I love these! I have another idea you might try. I have mixed liquid rit dye with rubbing alcohol in those little 2 for $1 spray bottles from walmart..it makes really pretty alcohol inks. I bet it would work wonders on the flowers and think of all the color possibilities!! I have only used it on paper/fabric so I don't think it would be much different...not sure of the drying time though.
Very cool Amanda. I really like how you showed what worked and didn't.
Thanks - I'll definitely keep this in mind!
Lots of pics and great points! How much time did this whole project take you? And... can we see the final project? lol! Great job... great tutorial! Thanks!
Amanda I agree with you the alcohol inks are the best. I did this a while back to a small flower I wanted to match a butterfly I had cut out of acetate. I did the butterfly in ach. inks first and needs the flower to match. I love the way some of yours turned out. But really like the rich look of the ai. You did good. Thanks for sharing.
I will thank you for your ideas and designs you share, love to see and download it, Els
hmmm. I think I might experiment some too. Wonder what watercolor pencils would turn out like.
You got some really nice looks with the inks.
Thanks for sharing this tut.
jean in ohio
Great tip. Thanks for sharing.
Thank You so much for sharing your experiments, most excellent tutorial. I think I will check out Hobby Lobby and the Dollar store for silk flowers as I have a large selection of alcohol inks that need to be used. I am a hoarder like you but am running out of space soooooo time to use some (to make MORE STUFF LOL) I was thinking ink in mini mister with rubbing alcohol. Question...do the flower dry lighter or darker than what they look like wet? Suggestion: sprinkle glitter embossing powder on the ones that took so long to dry and dry/emboss with heat gun??? That might look cool too
Dawn
Thanks for the tutorial. Please enter me for the RAK. I would love some of these flowers.
AMYD - Cricut MB
Great tutorial. I can't wait to try this.
SallyW
Thanks so much for taking the time to do this. I would have never thought of doing it. Can't wait to try it.
Robin
Thank you for this experiment with the flowers and different inks etc. I have to try this now.
Thanks so much for posting this.
I love these flowers.
barb911
I love the alcohol inked flowers best too! Definitely going to try this. The itty bitty flowers are easier to find in white than in any color I've been looking for. Thanks!
Thanks for sharing your ideas...
I never would have tried the ink pads, but those look good too!
Denise.Crosby
Thanks for sharing this tutorial. It will come in handy!!
The straight Alcohol ink looks best to me. Thanks for the tut!
Linda
http://just-a-scrappin.blogspot.com/
i love how you did them i have alot of white ones i want to color thanks for this infor mation it really helped me alot
I have done this before. well not with reinkers but with watercolor. though I have to remember the dried color is different then then wet. Now if I see nice white flowers I scoop them up.
This was a very informative blog! I loved all the photos and I'm glad you tried a bunch of different things. I noticed your initials are AMK... are you an "Amanda Marie" also? I am but I go by Mandie :)
Thanks again and I look forward to reading more of your blog!
Thank you for this info. What a neat idea, I will never be searching for the right color again. Thank you!
Hi Amanda, I check my computer every morning to see what you have come up with. I love the ideas and have been using them for awhile now.Scrapbooking has become my lfe and even more now since I was diagnoised with breast cancer amonth ago. Surgery is over but radiation starts Monday. So I stay busy doing scrapbooking for I can't get out yet and some of the church ladies have given me orders and I have done all my thank you cards myself instead of buying them and people seem to appreciate them more than the store bought ones.I buy flowers alot but have never attempted this project and can't wait to do it.I'm so excited that you shared this idea with us, and i'm always in the dollar store and they have lots of daisies but never thought of this. thank you so much, you truly are full of wonderous ideas and this one is GREAT! in my book.saves on buying the expensive flowers when you need a project. Calling the scrap store right now to gets some inks sent to me,thank you again,brenda1958 and would love to have some of yours to use on one of my projects as well.have a Blessed Day!
SUCH cool flowers! I love the colors you used, Amanda! And to the "Always, Alicia" poster, that's an awesome idea, too! I'd think that would be more cost-effective, too. I think that might just convince me to make my own alcohol inks. (The cost has been a huge deterrent.) And of course you can always do like one might do with paints and mix colors to make new ones. Ooh, the possibilities!! Thanks for the blog, Amanda, and thanks Alicia for the frugal idea!
Thanks so much for your tutorial! It was so in depth! I've used flowers in this way before, but I'd never thought of dying them.
You know us bingo gals...anything for free goodies! Love the tutoral...good to know what else may work in a pinch. I feel your pain and don't like blowing a bunch of ink for one little thing!
Scrappin hugs!
Amanda, Wow! great tutorial. I love it, I am going to have to try this one!
Margie
such a neat rak thanks for being so generous.
Thanks for the tutorial. Some of these turned out very nice!
Kim Maehrer
Thanks for the great step by step tutorial. I really appreciate the shared knowledge.
Dianie
Amanda....
I was just thinking about doing this so thank you for saving me some time and work. I have gotten so many ideas from you. You were such an inspiration to me that I finally started my own blog today !!! I figured it was an easier way to share my work with my friends and family. I have no idea how to add stuff like you pro's do though.....
Thanks again for all your wisdom!!!
Great Blog Candy BTW....
Thanks!!!!
Sherry http://sherrythornsberry.blogspot.com/
That is one of the best ideas I've seen yet!! I also buy flowers from the floral department and pop them apart. It's hard to find them in colors other than pink and white. Sometimes yellow. I like the blues and greens too so this is worth a try...I hope mine come out as well as yours.
I love all the different ways you have shown to color them....for whatever reason, I never thought of the pigment ink pads.....I will try it this weekend though!!
Thanks!
What at great idea, even with my hundreds of flowers I never seem to have the right color/size when I need it. This would really solve that problem!
Too cool. I need to remember this when I want some flowers to go with what I am working on! Thanks for the tutorial. LOVE IT!
i've used spray paint for altered items such as party favors. They come out really great
Wow, you are great!! I have often wondered about trying to find the color I want, without having to buy a whole bottle of flowers. Thanks for doing this!!
Pati Bocook
I finally got me some flowers to try some of this .. THANK U so much Yours are BEAUTIFUL!!
Post a Comment