Welcome!


YES! You are the right page! I just have a new name! :) After realizing that I do more than just scrapbooking, I've decided to change the name and will be changing the look.. I'd do a whole new blog but I'd hate to have to start all over.
Here you will find scrapbooking ideas. There's a ton of older posts that used the Cricut, but lately I haven't been using it much and well, my sewing machine is gaining more miles by the day.

Files are currently not available due to file hosting fees, please send an email to amkscrap @ gmail.com (no spaces) if you would like to request a file and I'll see if I still have it on hand.

Email Updates :)

Just enter your email address to recieve Email updates when I update the site! It's Free!(**NOTE** I can not unsubscribe you if you choose not to recieve updates anymore. At the bottom of each email, there is a link to unsubscribe, just like I can't add you to the list, you have to do it yourself!**)

Enter your email address:

Delivered by FeedBurner

Wednesday, October 29, 2008

Thinking Of You

My Former Schrock Cabinet Rep, Dave, got an infection in his leg and had to have it removed.

This is the card that I made for him, that me and my coworkers are going to sign and send to him.
Cabinets were layed out in CDS so that I knew they would fit.
Thinking of you cut in Alphalicious, and stickled
Stickles for Countertop
handles on appliances and other details were hand drawn
Skittles for the dots on the I's


Friday, October 24, 2008

Perfect Pear


I was inspired by a Cricut Message Board Member - Z-Annie.
She posted an adorable card of a pair of pears - for the "perfect pear".
I adored it and had to make it right away!
Here's a link to her original card - http://www.cricut.com/messageboard/tm.aspx?m=3170134&mpage=1&key=&#3170134
Pears are JOTS, accessories are Paper Dolls

I made these as anniversary cards for my parents (the top one) and my brother (bottom one)
This first one is for my parents - their wedding colors were blue and white. Pears are embossed with Swiss dots, leaf is flocked. Veil is vellum, with stickle and skittle accents. Skittles colored with Silver alcohol ink. Flowers are stickles. Background paper is blue (it looks lavender in the picture) embossed with D'vine swirl.


This one is for my brother and his wife Everything's the same as above card, their colors were gold and purple. Background paper is left overs from their wedding invites that I made.

Sunday, October 19, 2008

Bird Cages for the Baby Bug

Here's 2 bird cages for those with the baby bug.. I am seeing future cards with these on them!
Made with George, the bird is from 50 states

DOWNLOAD SMALL BIRD CAGES

Bird Cages

There was a request on the message board for birdcages, that they had seen on the 2peas board.

Here's a snip of the picture
So with Geroge and AE, I have created 2 bird cages :) The bird can be changed to whatever, it was from 50 states - just resize it to fit :) I have not cut these out, but they look like they will cut properly. If they become "unburped" in the download, just click the largest outline, copy it, delete it and paste it back in to the design.


DOWNLOAD BIRDCAGE #1

DOWNLOAD BIRD CAGE #2

Photo Corner

There was a request on the message board for photo corner

With this file you can cut 8 of the big and 8 of the small. Made with George
Download Photo Corners

Christmas Cards

Here's a few Christmas cards that I made at a crop on Friday. I made a total of 40 cards :) only about 100 left to go!

The first one is a flocked title. used the Leave it to Weaver punch.

This one uses D'vine swirl on the right.

This one uses D'vine swirl on the right.


Threading water punch on the bottom. Merry Christmas is JOTS, and filled in with Stickles.

Halloween Journal boxes

Here are some Halloween Themed journal boxes that I made.

The black paper is Black Magic
Embossed with Spiderweb
distressed with sandpaper
the halloween item are K and Company - the pumpkins are made from wood. and I'm not sure what the 'rock' looking things are..


Thanksgiving Journal Boxes

Sorry the first one is blurry.
These are some Thanksgiving themed journal boxes that I have made for a swap.
The back is black magic paper, embossed with Argyle and distressed with sandpaper (so you can see the back color)


Wednesday, October 8, 2008

A little bit of Pooh

Awww... who loves Pooh? These are all made with Pooh Font
All files include the layers so you won't have to guess what size they are :)

DOWNLOAD ALL CLEAN

DOWNLOAD PLAY TIME


DOWNLOAD TWINS

DOWNLOAD BEST FRIENDS

Friday, October 3, 2008

RAK Winner!!

Congradulations to BRENDA1958!!


Thank you to everyone who commented on my blog, and I hope that you come back again!

Thursday, October 2, 2008

Dying Flowers with Inks - Tutorial

I needed some flowers for a project, however I didn't want to pick through my primas, as I knew I did not have enough to go around. So, I went to Hobby Lobby in their floral section to look for some since they were 50% off. I couldn't find the type that I wanted, or the color that I wanted. I found some really pretty white daisys (?) and had a brain storm! What if I were to dye them to match my project? So I asked around, and searched the web, and I couldn't really find a "good" tutorial, or someone who had experience. This is how this tutorial was born. I hope that you find it informational and enjoyable. Please feel free to ask any questions and I will do my best to answer with the small expirence that I have.
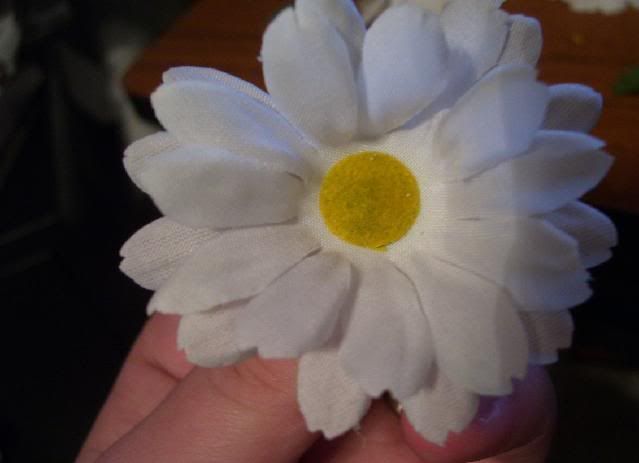
Here is what the Daisy's looked. I just picked them off the 'branch' that they came on. I purchased 7 stems, with 6 flowers on each. Each flower had 2 flowers with it. They were 99 cents each stem. Total Cost : $6.93 (before tax)

Photobucket


Then, I carefully removed the center from each, so that the flowers would become seperate. This will also allow me to use brads when attaching them to my project.
Photobucket

Photobucket


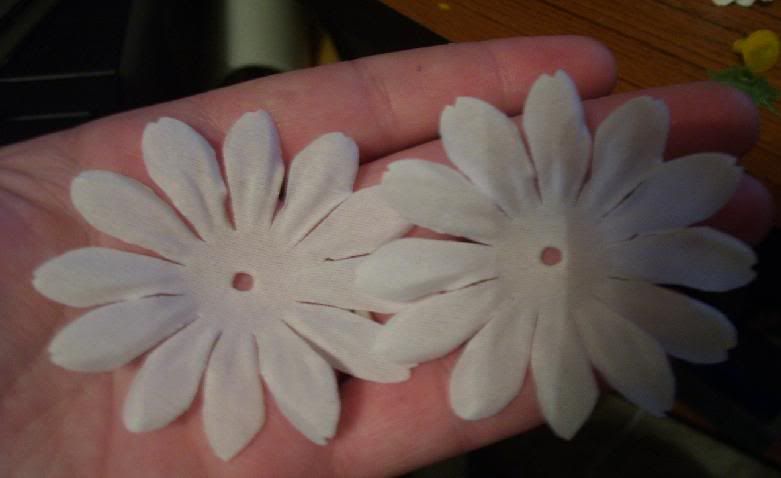
Here's what the flowers look when they are seperated.
Photobucket

The first method I tried was using a Mist. This was purcahsed at HL for $3.59 a bottle. I got it on clearence, and it came in Green, Brown and Red also. I have used the Blueberry Shake for this tutorial.

Photobucket


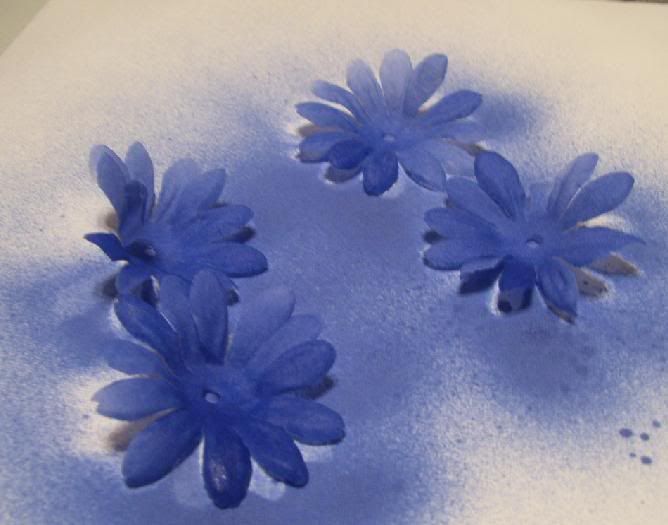
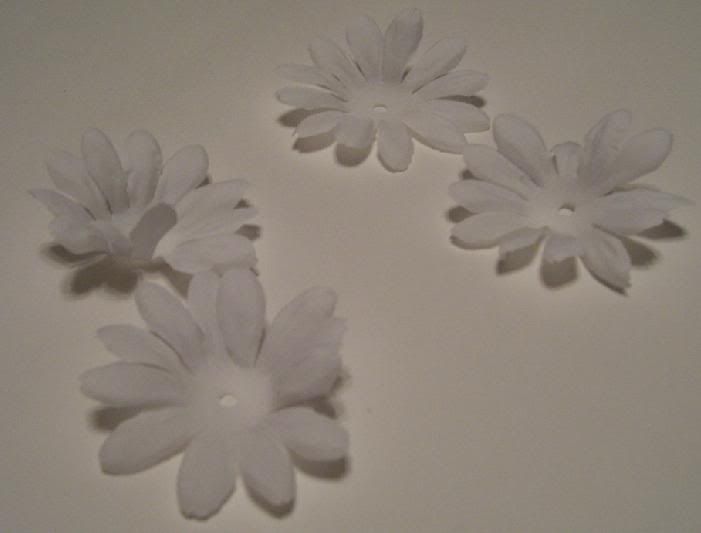
I scattered a few flowers on to blank paper. This is just cardstock. I later found that it's best to have chipboard or scrap cardboard under it, so that it doesn't leak through on to your table.Then I just sprayed the flowers. I tried to do it as evenly as I could, but some were over sprayed. I found that the mist dries quite quickly.
Photobucket

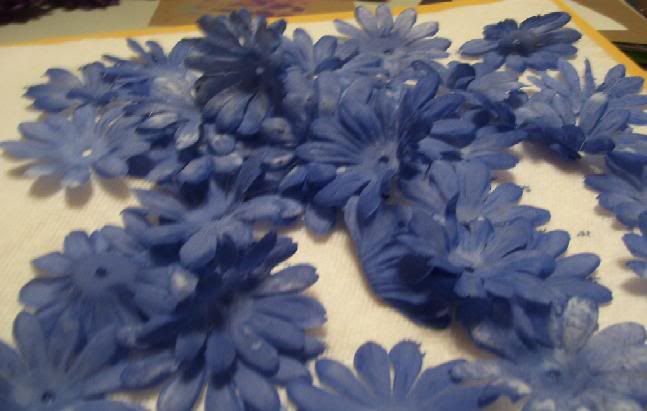
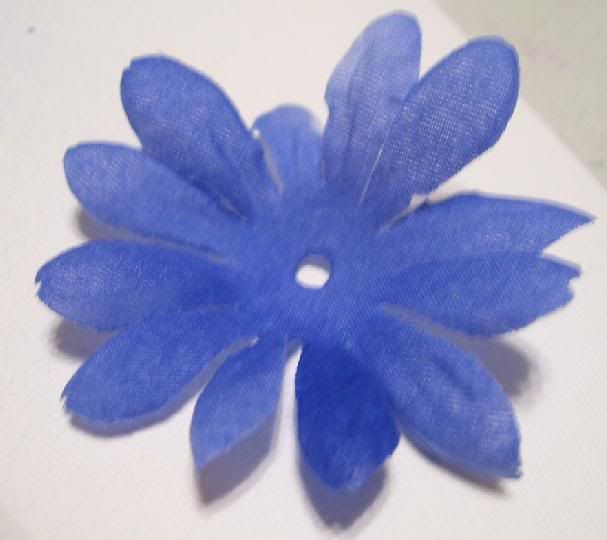
Here's a Flower, colored with Mist.

Photobucket

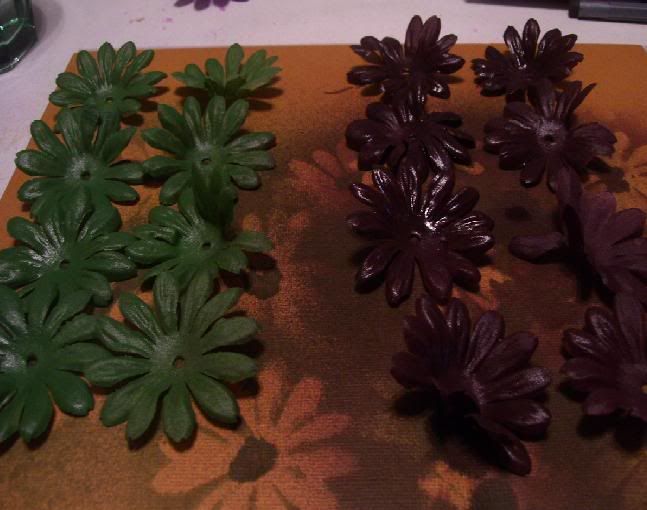
And some Green and Brown misters too

Photobucket

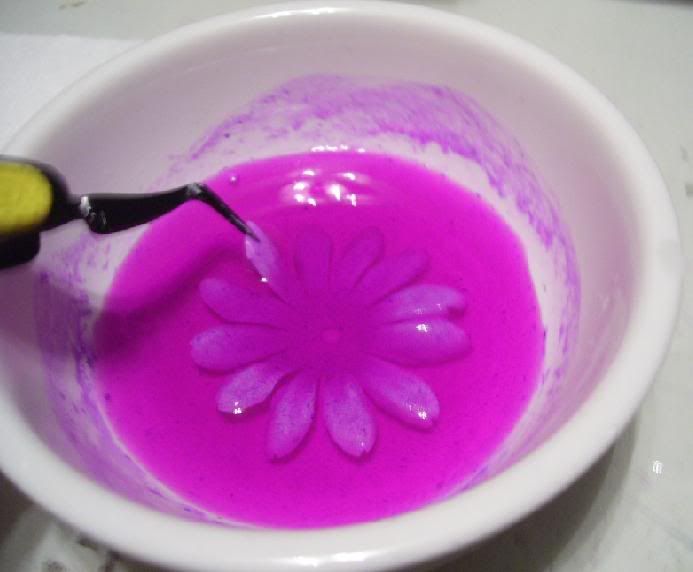
Then, I tried alcohol inks. I have been very conservitive on my inks - don't want to run out. So I tried first to mix with water. The color here is from Tim Holtz, Wild Plum. *NOTE* My bowl turned pink. I used a Mr Clean Magic Eraser to clean it up, I'm sure something else would work too, but this was in reach when I dumped out the access water.

Photobucket


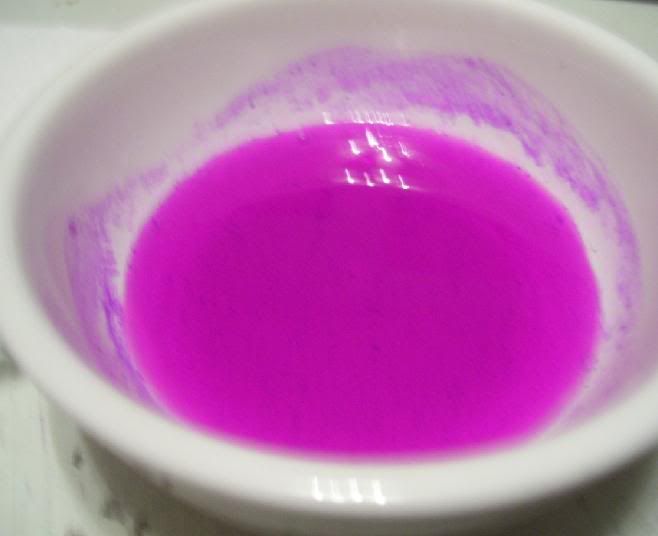
It didn't take much swirling in the water to give these flowers a nice pink shade. Unfortunetly, I was going for a more purple look. I checked though my inks, and I didn't have Eggplant which seems look more purplish.

Photobucket

Here's letting the flowers dry. They dried pretty quick too.

Photobucket

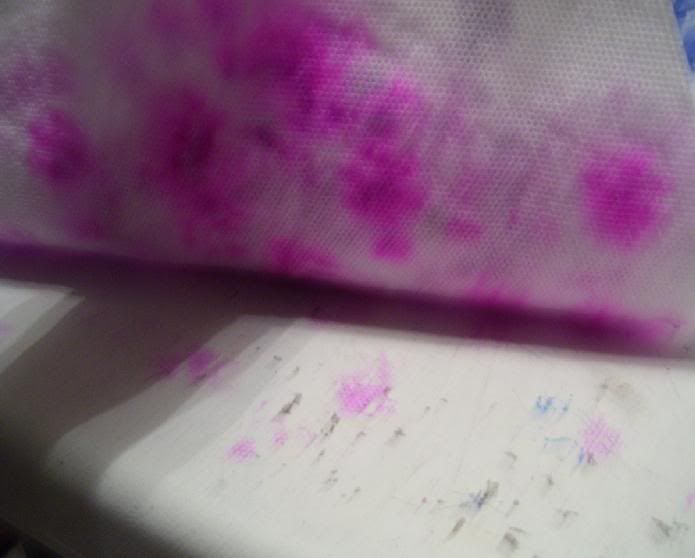
Being with water, they were more wet than the blue ones - look what it did to my table! Silly me, I should have put down some cardboard first. However Mr Clean Magic Eraser wiped the staining away.

Photobucket

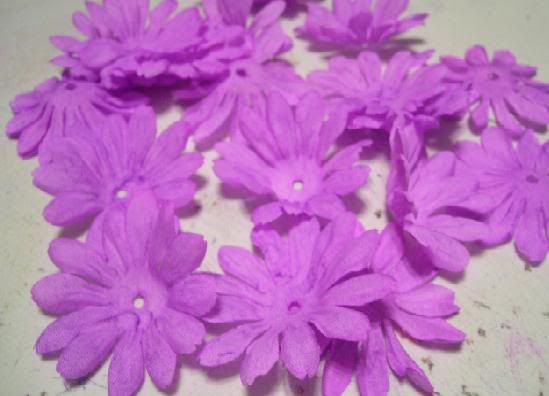
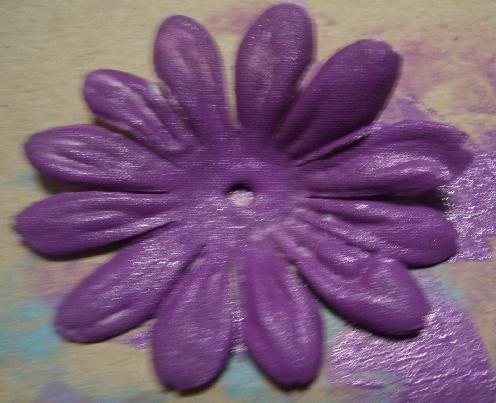
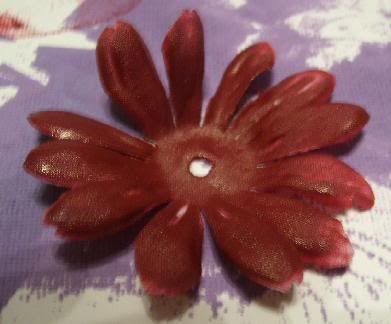
My Next try was to use the ink directly onto the flower. This came to a pretty, rich purple. Still being the supplies hoarder I am, I didn't want to go through a bottle to dye these flowers.

Photobucket

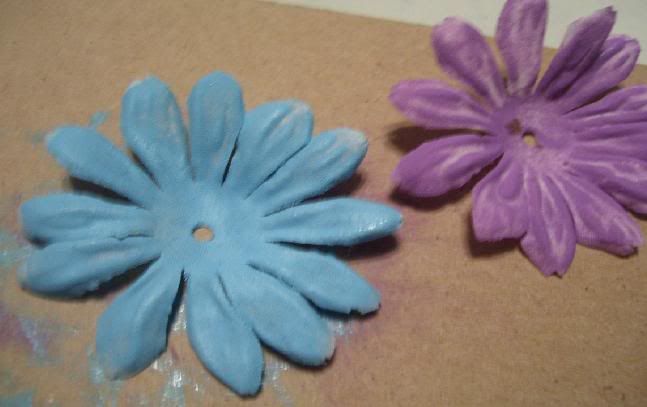
Then I tried Inks. I started with a Martha Stewart ink that I purcahsed at Walmart. Here's a purple flower, and next is a blue flower.

Photobucket

Photobucket

Photobucket

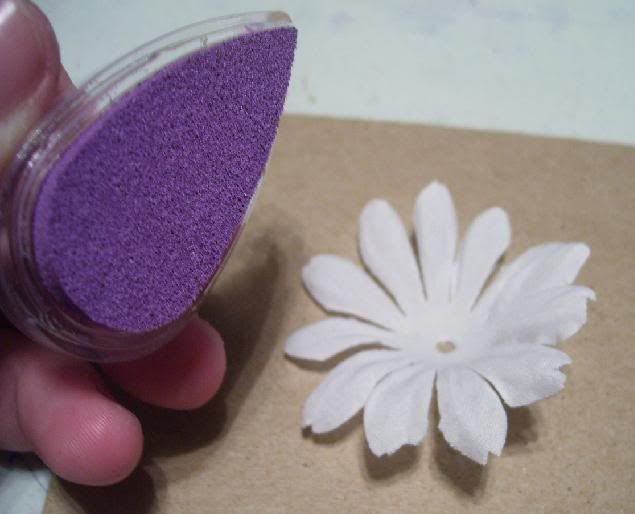
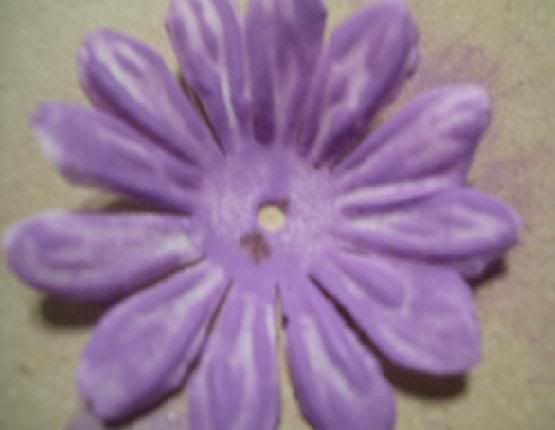
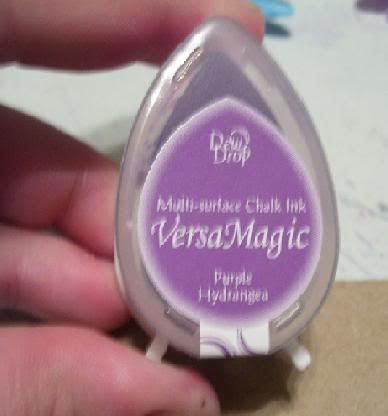
I also tried VersaMagic Dew Drops Chalk - I loved the way that these turned out.

Photobucket

Photobucket

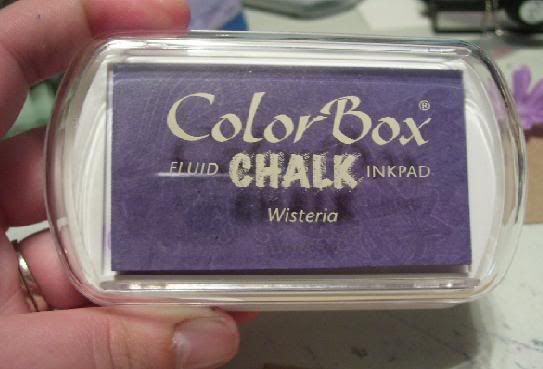
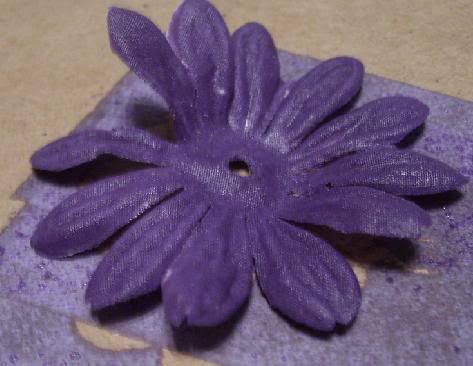
But, doing them with a small ink pad would have taken forever (or what seemed to be) so I got out my ColorBox Chalk Ink. These turned out really nice too, however being on a larger size, I felt that I was wasting my ink.

Photobucket

Photobucket

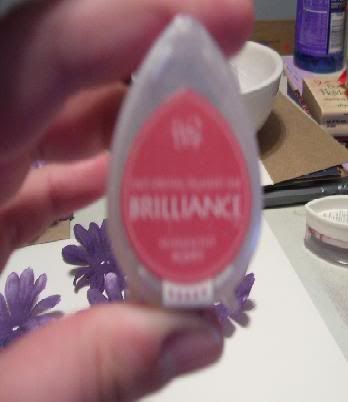
Here's a Versa Mark Brilliance . I did not like this one. These flowers have sat for about 23 hours. And this is the only one that is still WET! I moved it and got ink on my fingers.

Photobucket

Photobucket

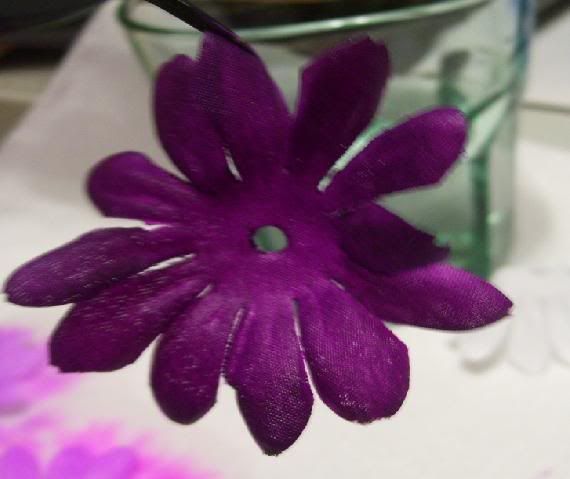
So I went back to the Alcohol inks. Here's some purples

Photobucket

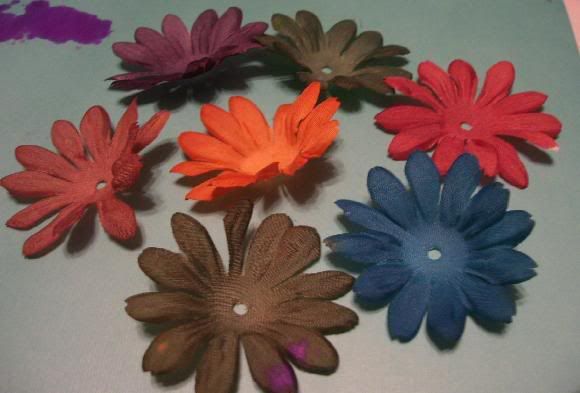
and some more colors

Photobucket

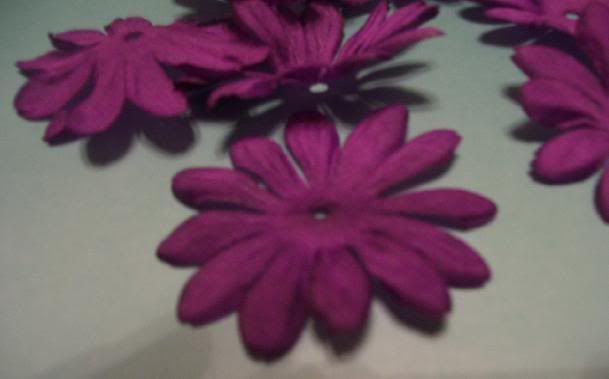
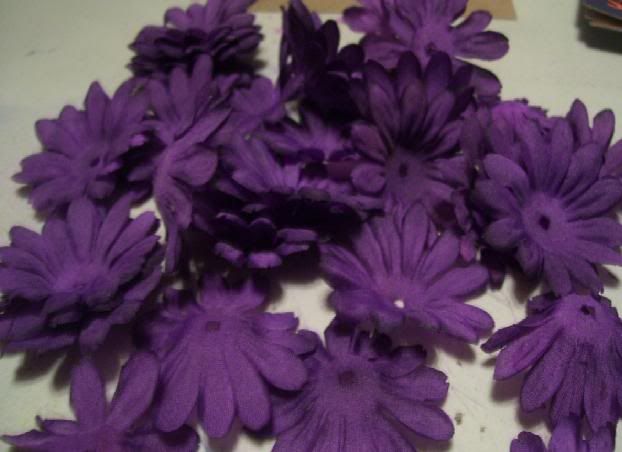
In the end, I like the look that using straight Alcohol ink gives the flowers. I did end up using my entire bottle of Wild Plum, but it was about 1/2 full when I started. Below is the Plum Flowers, dried.

Photobucket

In Conclusion, I feel that the inks did a much better job. I also liked the look of the misters.